2024 Halloween Essentials

Spooky season is here! Whether you're planning to transform into a wicked witch, a creepy clown, or a glamorous vampire, the right makeup can take your Halloween costume to the next level.
We'll dive into the essential Halloween makeup products you'll need to create everything from hauntingly realistic special effects to jaw-dropping beauty looks. Get ready to unleash your creativity and make this Halloween unforgettable with the perfect makeup tools!
Bloody Gory Goodness
Check out last week’s blog for an overview and demonstration of the Kryolan Blood range! From bloods that are mouth safe for your zombies and vampires, scab blood for old crusty effects and fresh flowing blood for a slasher feel! There’s something for everyone in the blood range!
Rigid collodion is a popular special effects makeup product used to create realistic-looking scars and skin indentations. It works by shrinking as it dries, pulling the skin tightly together to give the appearance of sunken or scarred tissue. Here’s how it works:
-
Application: Rigid collodion is typically applied in thin layers over the skin using a brush. You can draw or trace the desired scar shape or indentation.
-
Drying and Tightening: As the liquid collodion dries, it begins to contract, pulling the skin inwards. The more layers you apply, the deeper and more pronounced the scar effect will look.
-
Build-Up: Multiple layers can be added to create a deeper and more textured look. You can even enhance it by adding makeup, like red or brown tones, to simulate fresh or old scars.
-
Removal: Rigid collodion is a little tough to remove and requires Collodion remover to break it down. It should be used carefully to avoid irritating sensitive skin.
Overall, it’s a simple but effective tool for creating realistic scars without prosthetics!
Coloured tooth enamel is a cosmetic product used in special effects makeup to temporarily change the colour of your teeth. It’s commonly used to create various character looks, such as vampires with bloodstained teeth, pirates with dirty or decayed teeth, or to give the appearance of metallic teeth for cyborg or steampunk characters. Here’s how it works:
-
Application: The enamel comes in small bottles with a brush applicator. After drying your teeth with a tissue or cotton, you apply the product directly onto the surface of your teeth.
-
Drying: The enamel dries quickly, forming a thin, pigmented layer that adheres to the tooth enamel. The product is designed to stay on for hours, making it perfect for Halloween parties, costume events, or performances.
-
Colour Variety: It comes in various colours, like black (to simulate missing teeth), nicotine (for stained teeth), red (for a bloodied look), or metallic shades (for fantasy characters).
-
Removal: Coloured tooth enamel is temporary and can be easily removed by brushing your teeth or rinsing with mouthwash.
It’s a safe and effective way to create striking visual effects for your teeth without causing any long-term changes or damage.
Kryolan Supracolor is a full coverage cream foundation with an extraordinary pigment content of up to 44%. Made from a combination of pigment, waxes and oils, Supracolor applies on the skin smoothly, in a thin layer whilst retaining high coverage. Supracolor can be used for all occasions, from natural makeup styles to stage  and cosplay.
For a more natural everyday application, Supracolor leaves behind a dewy finish, making an ideal foundation and concealer for dry and combination skin types.
For heavier applications such as glam, stage or cosplay, powdering is recommended to set the makeup and increase longevity. Supracolor layers easily and blends effortlessly, producing flawless application for cream makeup lovers.
Coming in a rainbow of colours, the range has everything you’ll need to create a white ghost or clown face, a red devil or an ethereal fairy. Mix and match them to create your perfect shade.
FX wax is a versatile tool used in makeup to create realistic wounds, scars, deformities, or other skin textures. It's popular in Halloween makeup, theatre, and film for transforming the appearance of the skin. Here's how scar wax works:
Texture and Consistency: Scar wax is a mouldable, soft material that mimics the look and feel of skin.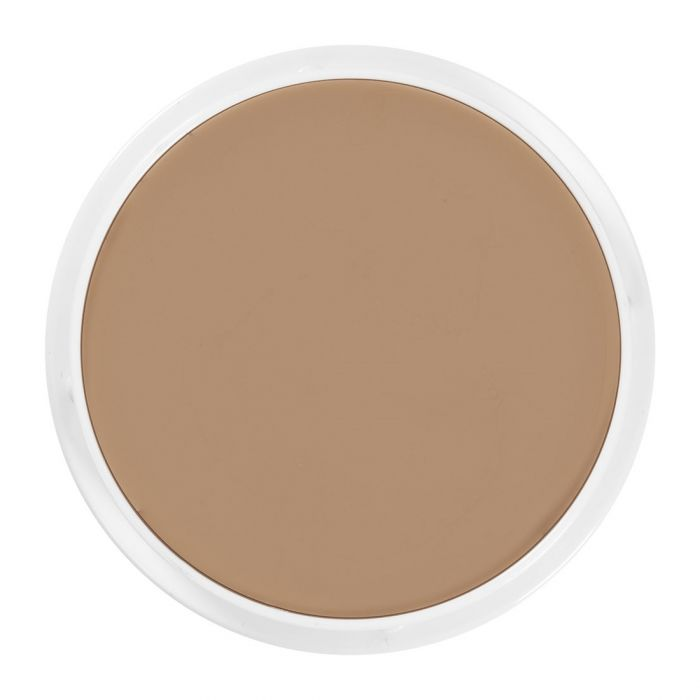
-
Application: Prep the skin: Clean and dry the area where you'll apply the wax. For better adhesion, some makeup artists use a layer of spirit gum or a similar adhesive to help the wax stick to the skin.
-
Sculpting: Take a small amount of wax and roll it into a ball or shape it as needed. Apply it to the skin and blend the edges into the surrounding skin, smoothing it with fingers or sculpting tools.
-
Shaping: Once applied, you can shape the wax into cuts, scars, burns, or other textures using a spatula, your fingers, or sculpting tools. You can create raised scars, deep gashes, or any other type of wound by manipulating the wax.
-
Smooth the edges: To make it look seamless, blend the edges of the wax into your skin with a little petroleum jelly or lotion on your fingers to avoid it sticking.
-
Seal it: Once sculpted, scar wax is fragile, so it should be sealed with sealor or liquid latex to keep it from melting or cracking.
-
Painting: After sealing, you can use cream paints, alcohol-based paints, or other makeup to colour the wax, adding realistic details like redness, bruising, or shading to enhance the effect. (Supracolor works well for this!)
-
Removal: FX wax can be peeled off after use, though it’s best to use an oil-based makeup remover to clean off any residue and ensure you don’t irritate your skin.
FX wax is great for creating custom effects because of how easily it can be moulded and painted, making it a go-to product for realistic special effects makeup.
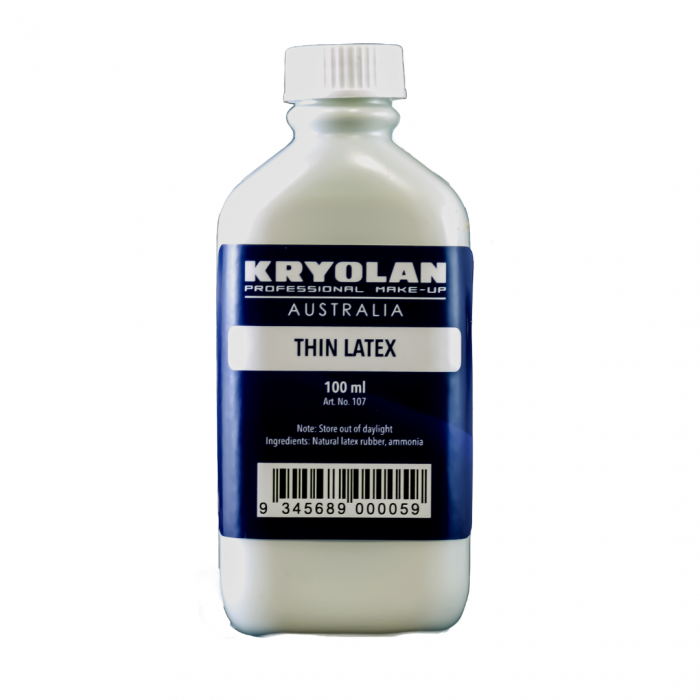
A versatile staple in the SFX world, Liquid latex can be used as an adhesive or in its own right to create awesome special effects. One of our favourite effects is an easy burned skin!
Step-by-Step Process:
-
Prep the Skin: Clean and dry the skin where you'll apply the liquid latex. If you have sensitive skin, consider applying a barrier cream or petroleum jelly to protect the area.
-
Apply Liquid Latex: Using a makeup sponge or brush, apply a thin layer of liquid latex to the area where you want the burn. You can apply it in different shapes or patterns depending on the severity and type of burn you want to create.
-
Add Texture:
-
For second-degree burns (blistered skin), you can build up layers by applying pieces of tissue or cotton over the liquid latex. Rip the tissue or cotton into irregular pieces and press them into the latex while it's still wet. Apply another layer of latex on top of the tissue to secure it.
-
For third-degree burns (charred or deeply damaged skin), you can scrunch up the latex as it dries to create a more textured, melted look. Pull and stretch the latex slightly to form the appearance of hanging skin or charred flesh.
-
Create Peeling Effects:
-
As the latex dries, you can gently lift and peel some of the latex to create the illusion of peeling skin. Use a toothpick or tweezers to pull up small sections, leaving the edges attached to the skin. This creates a torn, damaged look.
-
Colouring the Burn:
-
Once the latex is dry and textured, it's time to paint. Start with red or dark pink cream makeup to mimic the irritated, raw skin beneath the burn.
-
Use brown or black makeup to add depth to the edges of the burn, making it look charred. Apply these darker shades to the peeled areas or creases for a more severe burn.
-
Add touches of yellow or white to represent pus or dead skin in the burn, especially around blistered areas.
-
Blend all the colours together for a natural yet disturbing appearance. Make sure to blend the edges of the makeup with your natural skin tone for a seamless transition.
-
Set the Makeup:
-
Use translucent setting powder to set the makeup so it stays in place for the duration of your event or photoshoot.
-
Optional Finishing Touch:
-
For a more gory effect, you can add fake blood to areas of the burn that are meant to look fresh or oozing. Apply it sparingly, allowing it to drip naturally or pool in certain areas for extra realism.
Removal:
To remove, carefully peel off the latex, using warm water and soap or an oil-based makeup remover to break down any remaining latex and makeup on your skin.
With liquid latex, you can achieve everything from subtle first-degree burns to extreme, gory third-degree burn effects, making it a great tool for Halloween or special effects makeup!
Last Minute Essentials:
Run out of time and just need to throw something together? Or just looking for the perfect finishing touch? Try these out!
· Character looks, grey hair and a rainbow of more colours! Easy to apply and washes out with shampoo.
· Can’t think of a character yourself? Use one of our character kits! Packed with everything you need to create a character look!
· The perfect customisable fangs to take your vampire look to the next level.
October 19, 2024
|
View: 1512
What is Professional Makeup?
May 9, 2019
What Causes the Oxidation of Foundation?
August 26, 2020
KRYOLAN FOUNDATION GUIDE
August 17, 2024

THE ULTIMATE GUIDE TO SPIRIT GUM
September 28, 2024

CORRECT, CONCEAL, & CONQUER
July 15, 2025

WHERE DOES IT GO?
June 5, 2025

Glow for the Stars
May 29, 2025
Blush Crush
May 28, 2025

SUMMER SKIN TIPS
November 23, 2024
